
- Strop before every shave, and shave after a hot shower.
- Hold the blade at about 30 degrees and keep the skin stretched.
- Go with the grain, cheeks first, and leave the chin for later weeks.
Learning how to shave with a straight razor looks harder than it is. The blade is very sharp and the first few shaves will feel slow, but the technique comes down to a small number of habits that most men pick up within a few weeks. This guide covers the prep, how to hold the razor, the angle to aim for and which parts of the face to start on, so that your first shaves are comfortable and you build good habits from the beginning.
What you need before you start
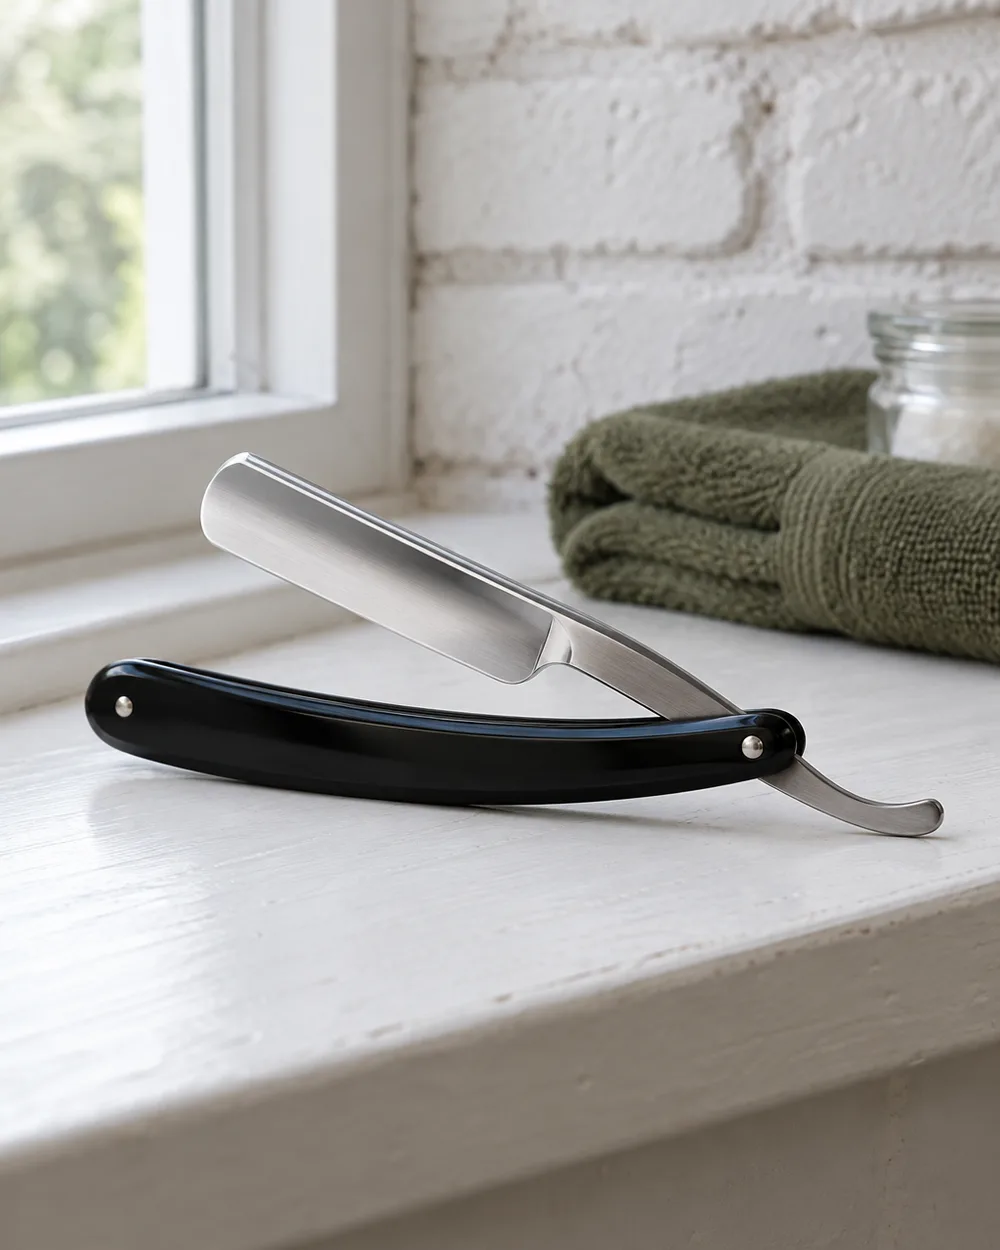
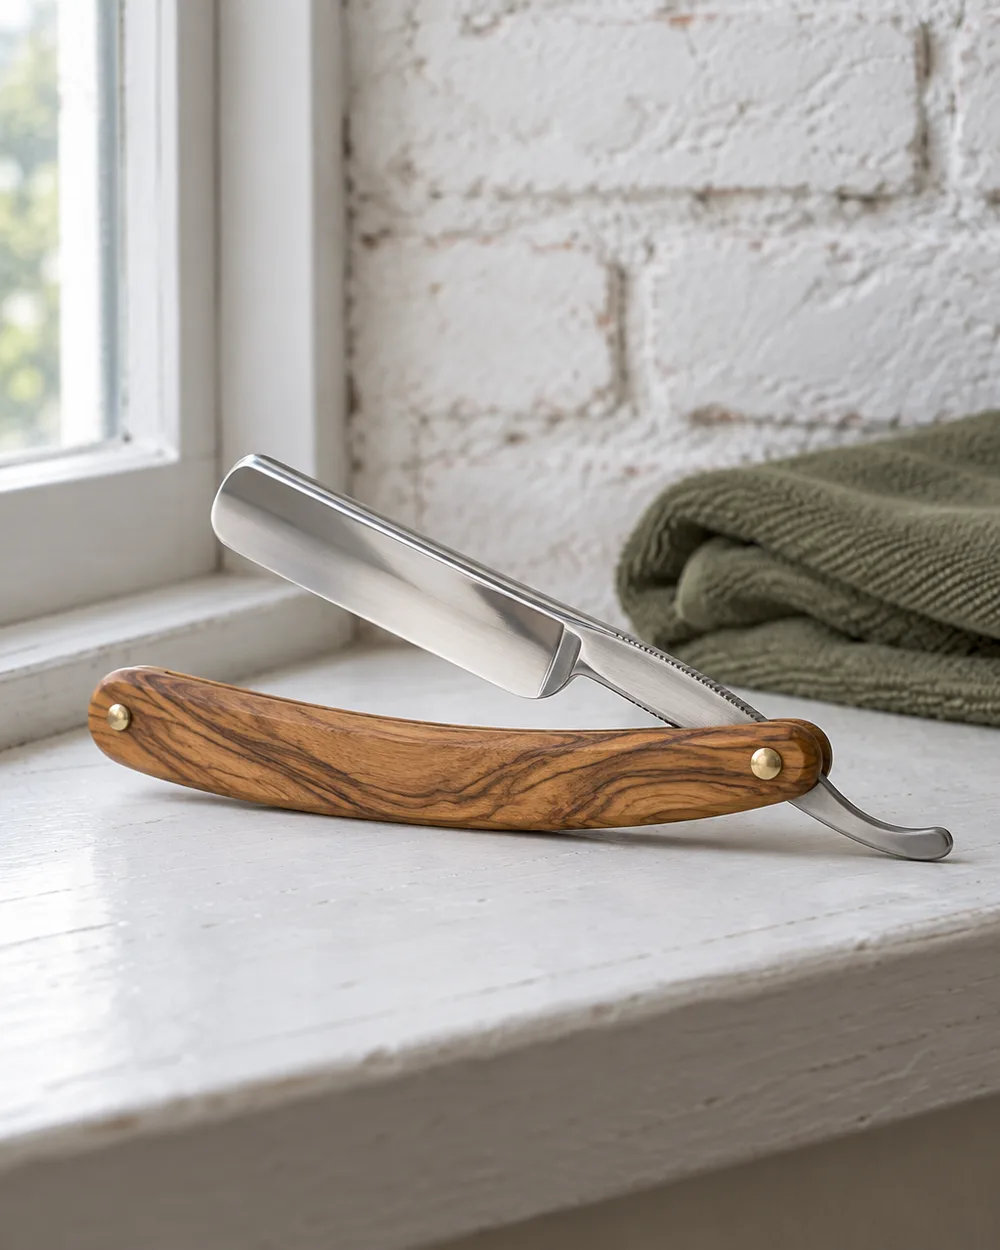
You need a razor that has been honed shave ready, a strop, a brush and a decent soap or cream. A 5/8 blade in stainless steel is the usual starting point because it is easy to steer around the face and less fussy about drying. The Keeper is our razor in that size. If the fractions mean nothing to you yet, the straight razor sizes guide explains them, and the carbon vs stainless guide covers the choice of steel.
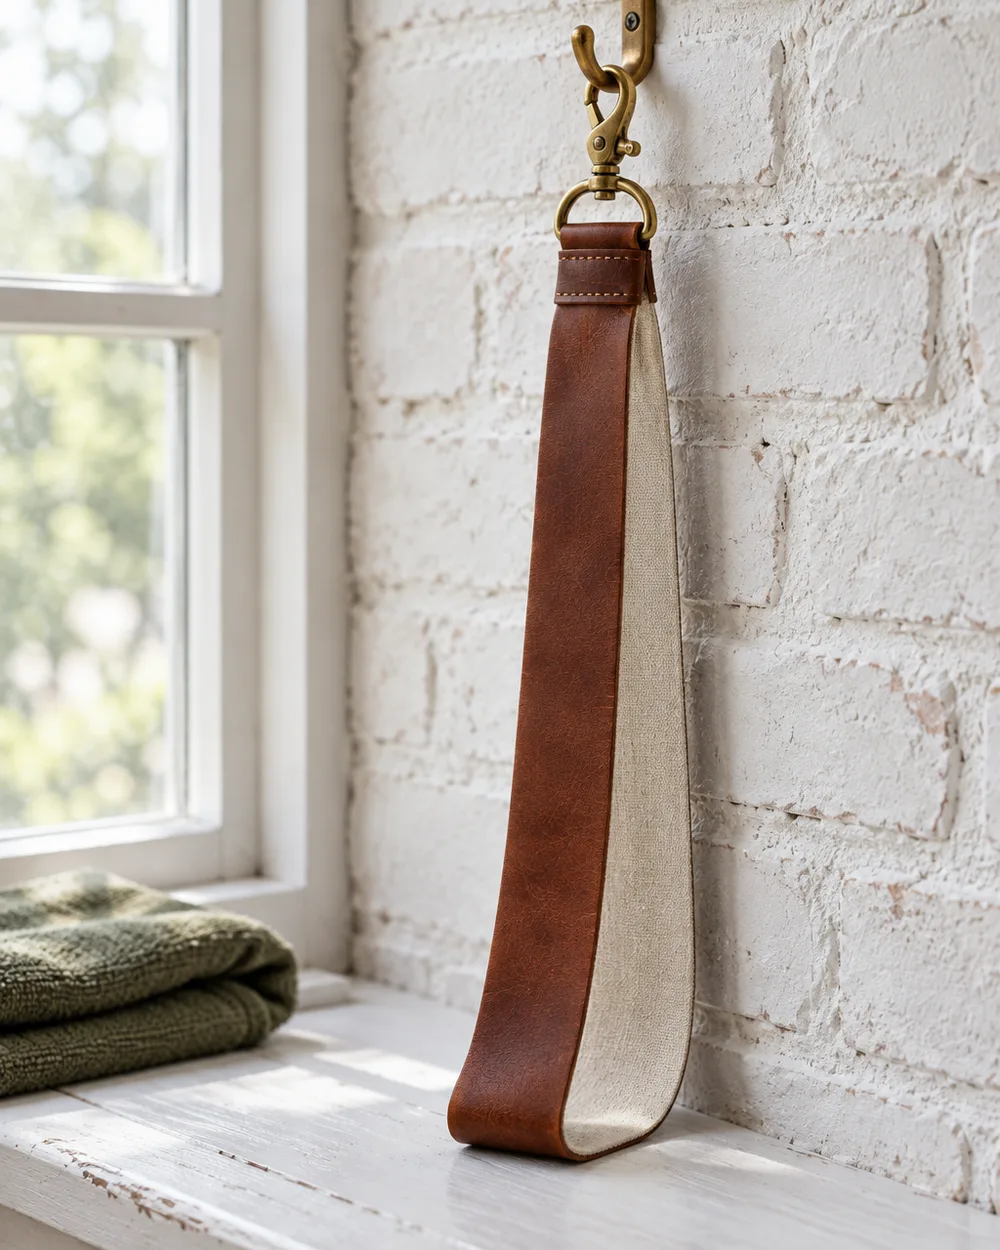
The strop matters as much as the razor. A few minutes on a hanging strop before every shave keeps the edge in line, and without it even a well honed razor will start to pull within a week or so. Our stropping guide goes through it properly.
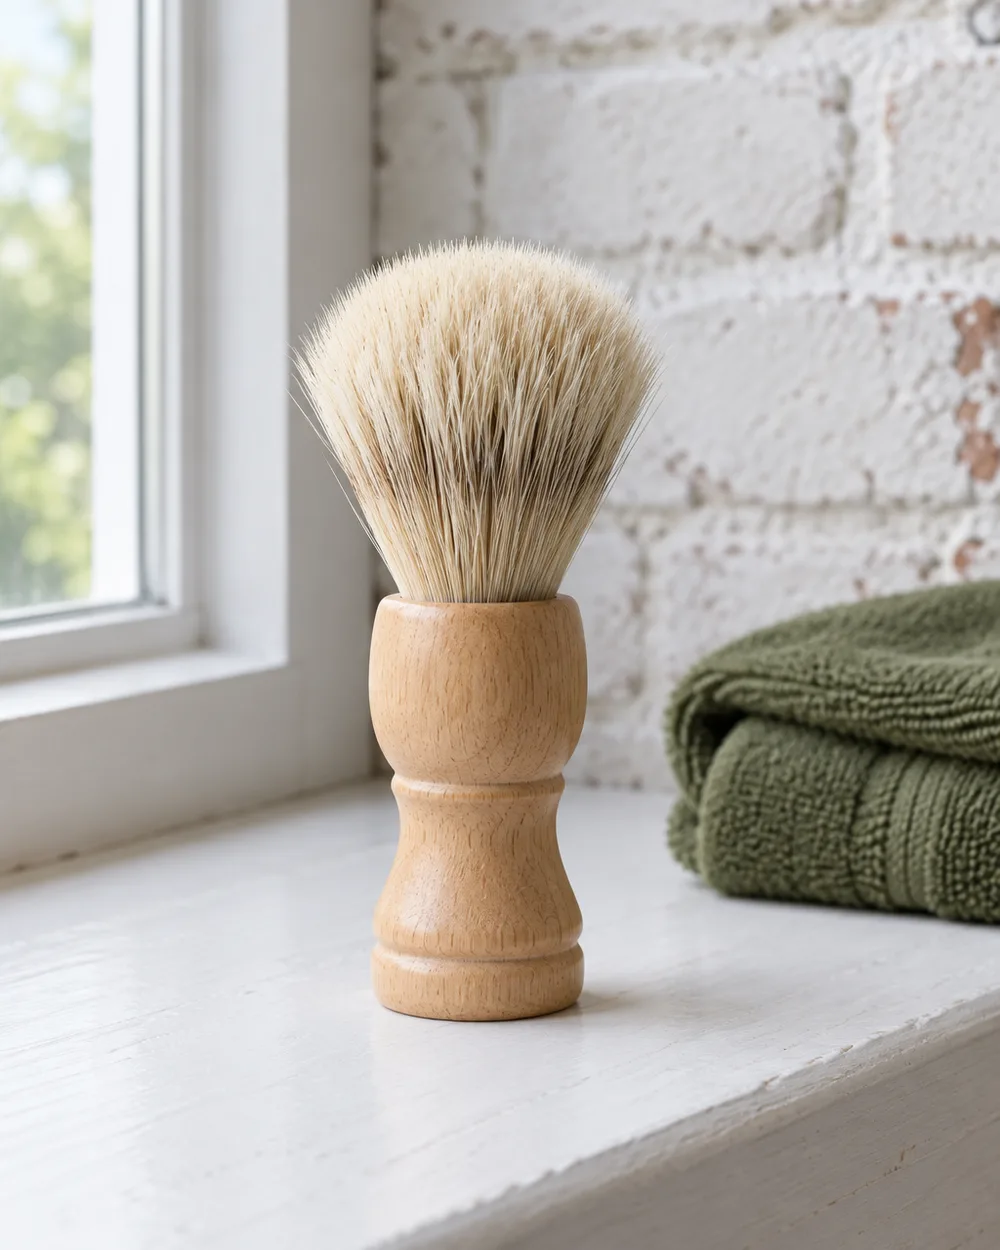
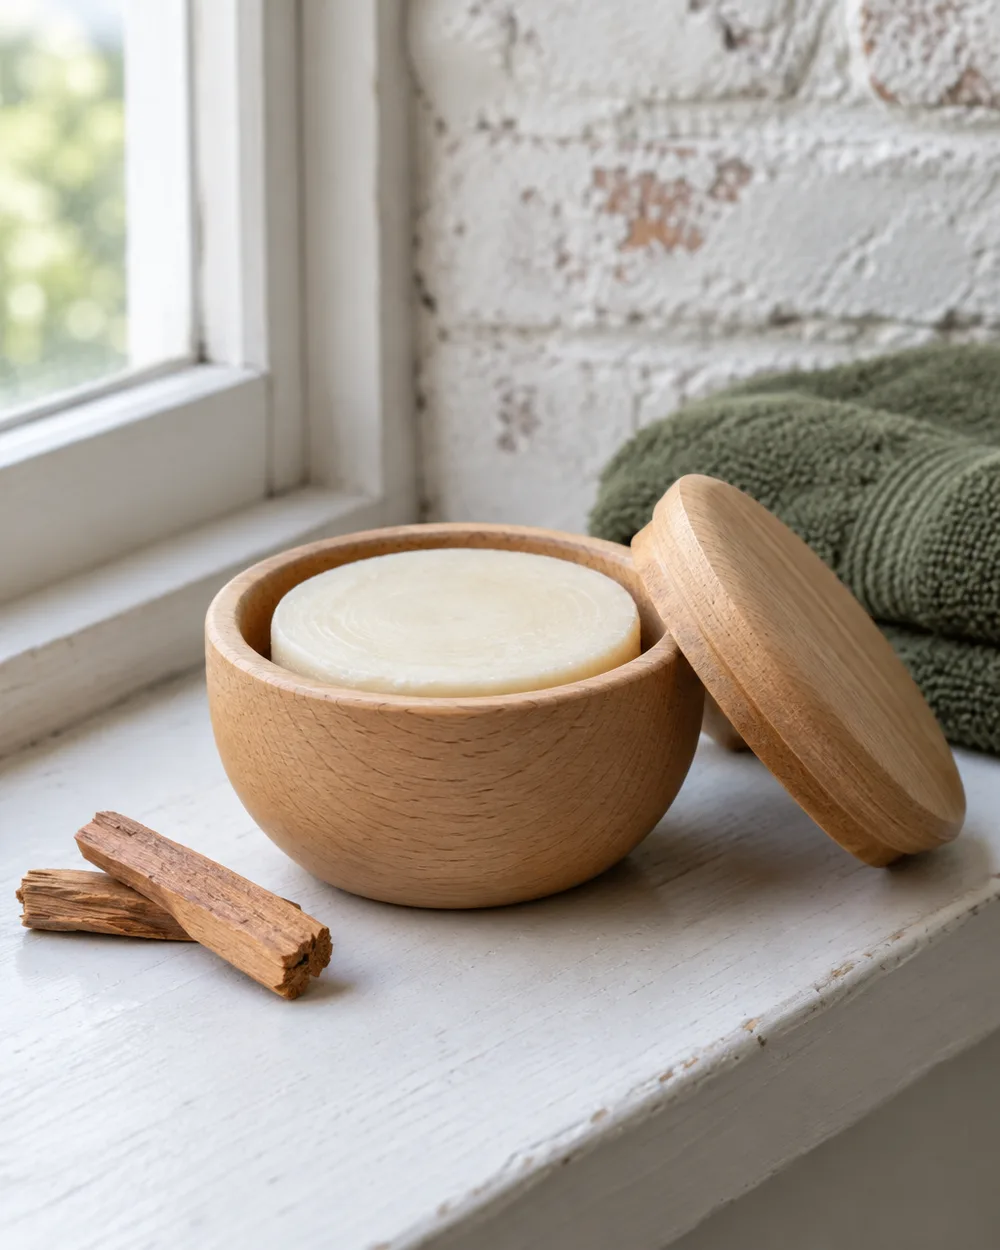
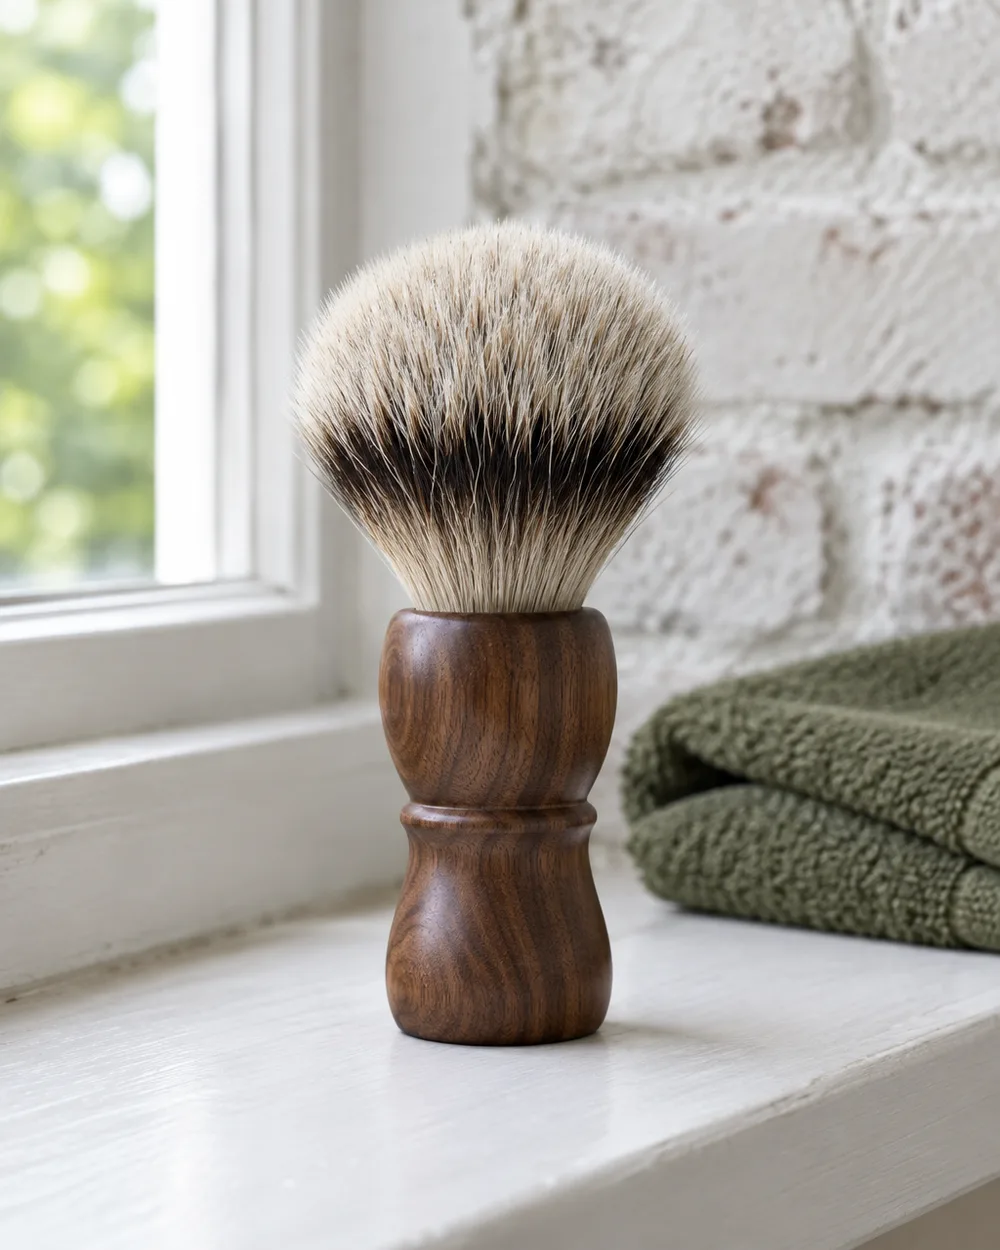
A brush and a proper lathering soap make more difference with a straight razor than with a cartridge, because there is no lubricating strip and the blade relies entirely on the lather. A boar bristle brush is cheap and works well with hard soaps. If you are not sure what kind of brush to get, see how to choose a shaving brush.
Cut-throat razors and loose blades are sold to over-18s only in the UK, with an ID check on delivery (more on our delivery page).
Prep your face and the razor
Shave after a hot shower if you can, or hold a hot flannel against your face for a minute or two, because softened hair cuts with far less tugging. Wash your face with a little soap first, then leave the skin wet.
While your face is soaking, strop the razor. Ten or so laps on the canvas side and 20 to 40 on the leather is the usual routine.
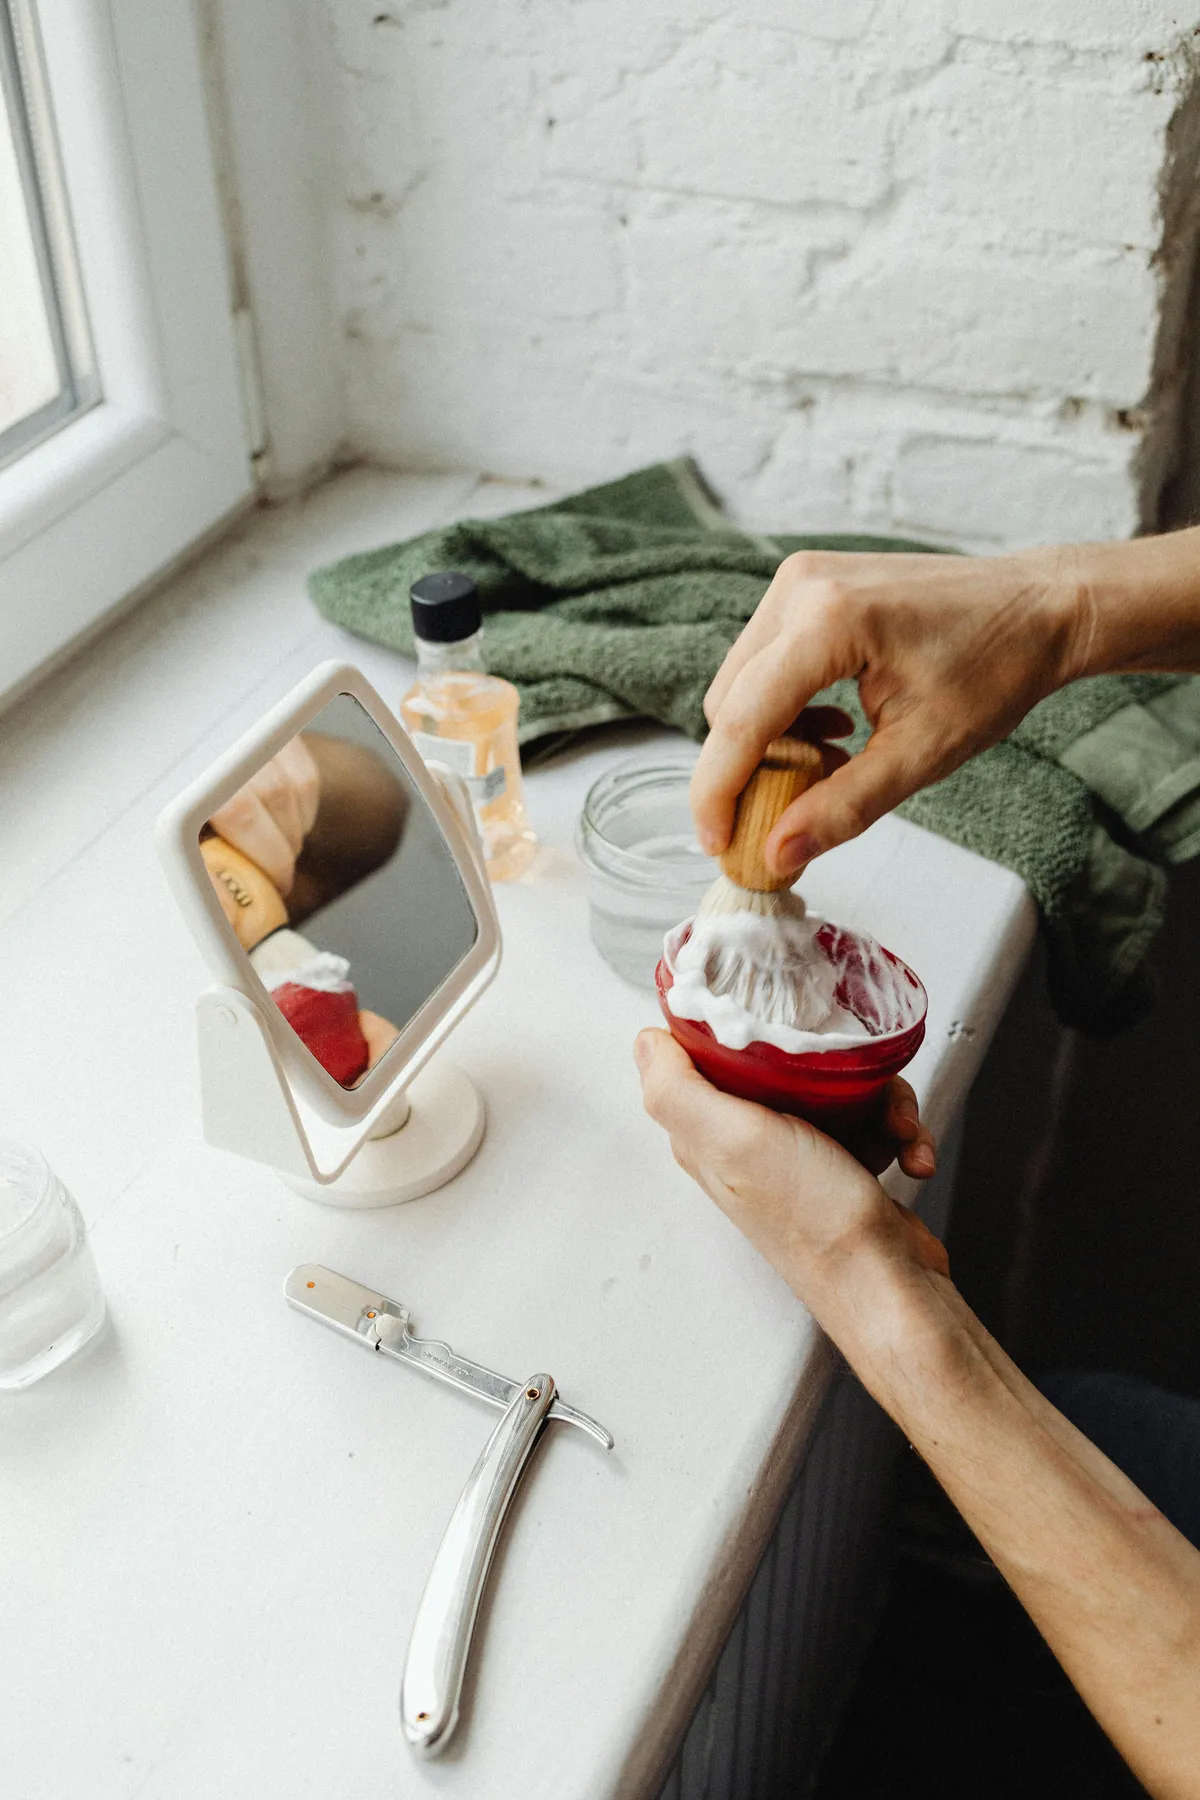
Then build your lather. You want it thick and slick, closer to yoghurt than to the foam that comes out of a can. Load the brush, work it onto your face in small circles for a minute to lift the hairs, and finish with a few straight strokes so it lies flat and even. If you have never made a lather before, the guide on how to build a lather covers how much water to use.
How to hold a straight razor
Most people use what barbers call the standard grip. Open the razor so the handle (the scales) swings back past the blade. Put your thumb on the underside of the shank, close to the pivot, and lay your first two or three fingers on top of the shank where the blade meets the tang. Your little finger can rest on the curled end of the tang. The scales hang loosely behind your hand and play no part in steering.
Hold it firmly enough to control it, but avoid gripping hard, because tension in your hand turns into wobble at the edge. For the left side of your face you can switch hands or reach across. Switching feels awkward at first, but reaching across makes the angle on the left cheek hard to judge.
How to shave with a straight razor, step by step
Find the 30 degree angle
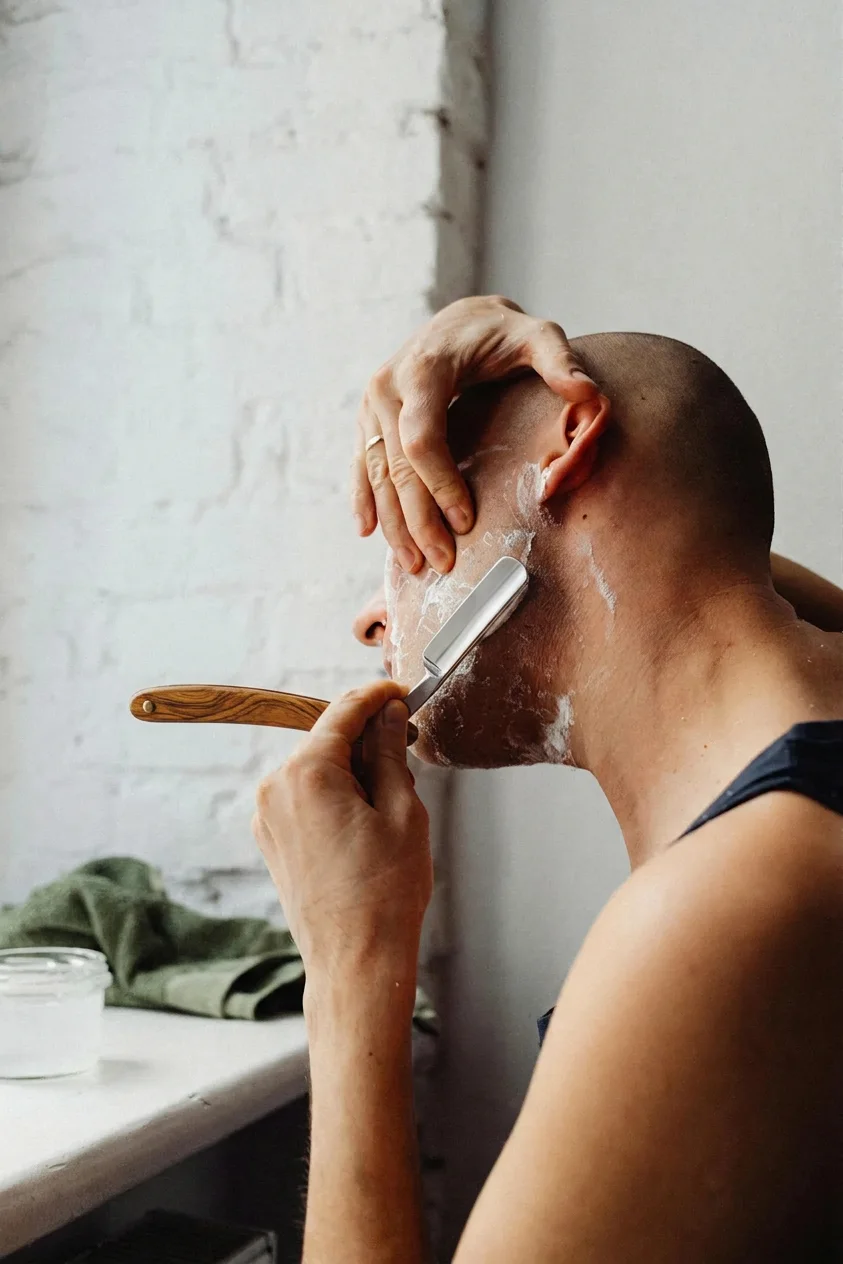
Lay the blade flat against your cheek, then lift the spine until there is a gap of about two spine widths between the back of the blade and your skin. That puts the edge at roughly 30 degrees, which is the angle most barbers teach. If the razor is too flat it glides over the hair without cutting. If it is too steep the edge digs in, and that is how most nicks and scrapes happen.
When the angle is right, the hair cuts with a faint crackling sound and the lather comes away cleanly behind the blade.
Stretch the skin
Use your free hand to pull the skin tight. A flat, taut surface is what stops the edge catching. On the cheek, pull upwards from the temple. Under the jaw, tilt your head back and pull the skin down towards your collarbone. Keep your stretching fingers dry or they will slip, so wipe them on a towel every so often.
First pass with the grain
Your first pass should always follow the direction the hair grows. For most men that is downwards on the cheeks, but on the neck it often grows in several directions. Rub your fingers over a day's stubble beforehand to work out which way it runs.
Use short strokes of an inch or two, and let the weight of the razor do the work. Never move the blade sideways along the line of its edge, because that is the one movement that will reliably cut you. Rinse the lather off the blade every few strokes in a bowl or a sink of hot water.
Which areas to shave first
For the first week or two, shave only your cheeks with the straight razor, from the sideburn down to the jaw line. They are flat and easy to stretch. Finish the rest of your face with whatever you used before.
Once the cheeks feel comfortable, add the area under the jaw and then the neck. Leave the upper lip and chin until last. They curve, the skin is harder to stretch and the hair there is often the coarsest on the face. For the upper lip, pull your lip down over your teeth and use the toe of the blade (the end furthest from your hand) in very short strokes.
If you have a beard and only shave the cheeks and neck anyway, you are already doing the easier part. Our guide on how to line up a beard with a straight razor covers the edges in more detail.
- CheeksFlattest and easiest. Weeks one and two.
- Jaw and upper neckShort strokes, following the curve.
- Lower neckSkin stretched up, chin lifted.
- Chin and top lipLeave these to a safety razor until your hand is steady.
A second pass when you are ready
After a few weeks you can relather and do a second pass across the grain for a closer finish. Going against the grain is the pass most likely to cause irritation, and most men never need it.
Common beginner mistakes
The most common mistake is pressing. A straight razor needs almost no pressure, and pushing it into the skin is what causes razor burn and cuts. Skipping the strop comes a close second, because a slightly bent edge pulls at the hair and makes you press harder to compensate.
Rushing is the other one. Ten to twenty minutes is normal in the first few weeks. Small nicks will happen, and a cold rinse and a damp alum block usually stop them within a minute.
If the razor still tugs after a full stropping, the edge probably needs honing rather than more practice on your part.
Aftercare for your skin and the razor
Rinse your face with cold water and pat it dry. An alum block or a splash of witch hazel helps with small nicks, and an alcohol-free balm is kinder to the skin than a strong aftershave while you are getting used to the razor.
The razor needs a little care too. Rinse the blade in warm water, then dry it with a towel by wiping from the spine out towards the edge, never along it. Leave it open for a while to air dry fully before you fold it, and keep it somewhere less steamy than the bathroom shelf if you can. Stainless steel is forgiving, but it can still spot if it is put away wet. The guide on how to look after a straight razor covers oiling, storage and when to get it honed.
Your next step
If you are starting from nothing, the simplest route is The Keeper with the cowhide and canvas hanging strop. If you would rather choose the brush, soap and bowl to go with it, you can build your own kit and see the total as you go.